A DIY drip irrigation kit is one of the most satisfying upgrades you can make to a garden. Instead of standing with a hose or watering can every day, you let a network of thin tubes deliver water slowly and directly to each plant’s roots. It saves water, saves time, and keeps plants healthier — and in Singapore’s heat, where pots and beds dry out fast, that’s genuinely useful.
This guide is for balcony gardeners, homeowners and anyone tired of daily hand-watering. We’ll walk through what’s in a kit, how to plan and assemble it, how to add a timer, and how our climate shapes the way you should run it.
Why drip irrigation works so well
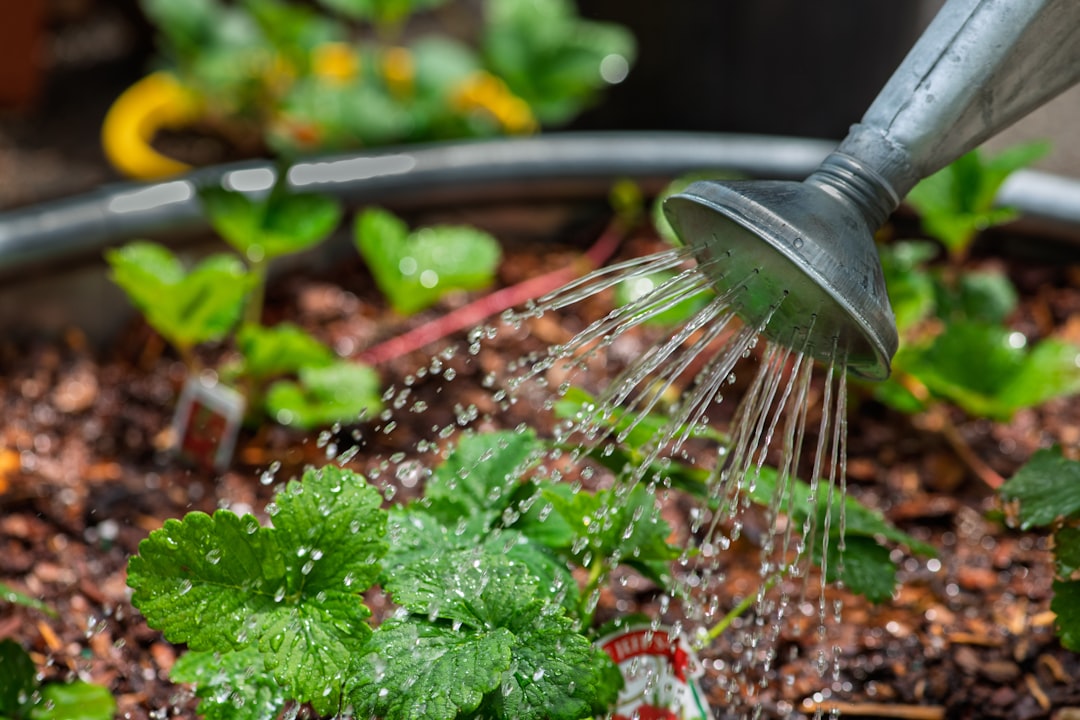
Drip delivers water slowly, right at the base of each plant, so it soaks into the root zone rather than running off or evaporating. That means less waste, less wet foliage (which reduces fungal problems in our humidity), and steadier moisture than the feast-or-famine of occasional heavy watering. Add a timer and the system waters itself even when you’re away — invaluable over a long weekend in our climate, where a balcony of pots can wilt in a day or two without water.
What’s in a typical kit
Most DIY kits contain the same core parts:
- A connection to your water source — a tap connector or fitting.
- A pressure reducer to bring mains pressure down to what drip lines need.
- A filter to stop grit blocking the tiny emitters.
- Main supply tubing (the thicker line that carries water around the garden).
- Thin distribution tubing (micro-tubes) that branch off to individual plants.
- Emitters or drippers, micro-sprayers, and connectors, tees and end caps.
- Stakes to hold tubes and emitters in place.
A timer is sometimes included and sometimes bought separately — it’s the part that turns a watering aid into a hands-off system.
Planning your layout
Spend ten minutes planning before you cut anything. Sketch where your plants are and group them by water need — thirsty leafy plants together, drought-tolerant ones together — so each zone gets roughly the right amount. Decide where the main line runs, then where each micro-tube branches off to a pot or plant. Measure roughly how much tubing you need and where the water source is. A little planning avoids the classic mistake of running out of tube halfway round or watering everything the same when their needs differ.
Step-by-step assembly
- Connect to the tap: fit the tap connector, then the pressure reducer and filter in the order the kit specifies.
- Lay the main line: run the thicker supply tubing along your planned route, past the beds or pots. Don’t cut it to final length until you’ve checked the run.
- Branch off to plants: punch holes in the main line where needed and insert connectors for the thin distribution tubes, then run a micro-tube to each plant.
- Fit emitters: place a dripper or micro-sprayer at each plant, choosing the type and flow to suit it — a single dripper for a small pot, more for a large planter or a bed.
- Secure everything: peg tubes and emitters in place so they stay put.
- Cap the ends of the lines.
- Flush and test: run water through before fitting the final emitters to clear debris, then turn it on and watch every plant actually gets water — adjust any that don’t.
Adding a timer
A timer is what makes drip truly hands-off. A simple battery tap timer screws on between the tap and the system and lets you set start times and durations — for example, a short run early each morning. More advanced timers offer multiple daily cycles. In our climate, frequent short cycles often suit pots better than one long soak, because the small volume of compost dries quickly. Start conservative, then adjust based on how your plants and soil respond.
A Singapore angle: heat, pots and watering smart
Our climate makes drip irrigation especially worthwhile, but it also changes how you run it. The intense heat dries out pots and shallow beds fast, so plants — particularly on a sun-baked balcony — may need watering once or twice a day, which is exactly the chore drip and a timer remove. Water in the early morning so plants are charged before the heat of the day and foliage isn’t left wet overnight.
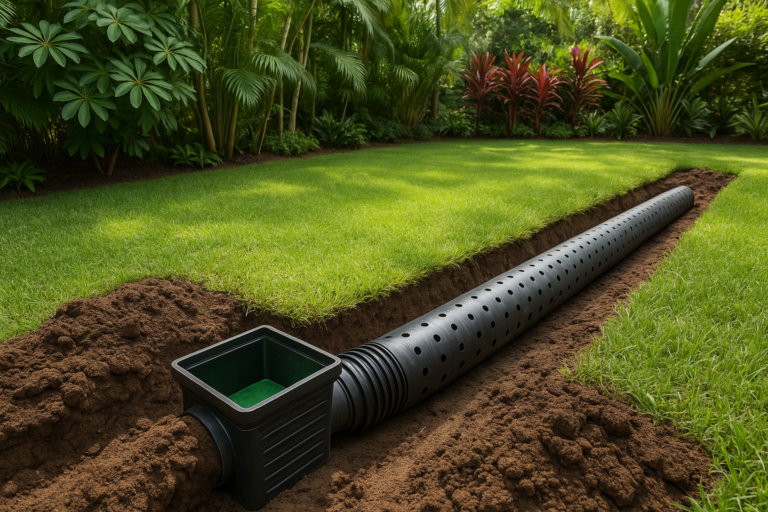
The flip side is our rain. During heavy downpours and the monsoon, plants get plenty of natural water, and running the system on top risks overwatering and root rot. So adjust the timer seasonally, skip cycles after heavy rain, and keep an eye on the soil rather than watering blindly. A DIY kit is perfect for a balcony or a few beds; for a larger garden, a buried, zoned and weather-aware setup is better handled as a professional irrigation system. Either way, drip pairs naturally with good landscape maintenance, since healthy, well-watered plants are far less trouble overall.
Common problems and fixes
- Emitter not dripping: usually grit — check the filter is fitted and clean, and flush the line.
- Uneven watering: pressure may be too high or the run too long; a pressure reducer and pressure-compensating emitters help.
- Tubes popping off: connections weren’t pushed fully home, or pressure is too high.
- Plants still wilting: emitter flow too low or cycle too short for our heat — increase run time or add emitters.
Frequently asked questions
Is a DIY drip irrigation kit worth it for a balcony garden?
For a balcony of pots in our heat, very much so. Pots dry out fast and often need daily watering, which a drip kit with a timer handles automatically — keeping plants healthy and freeing you from the daily routine. It’s one of the highest-value upgrades for a container garden here.
How often should the timer run in Singapore?
It depends on the plants, pot size and exposure, but a short cycle in the early morning is a sensible starting point, with a second short cycle for sun-baked pots if needed. Adjust by checking the soil, and reduce or skip cycles during rainy spells to avoid overwatering.
Do I need a tap, or can I use a water tank?
Most kits connect to a tap and rely on mains pressure. You can run drip from a raised tank or container using gravity, but low pressure may limit how many emitters work reliably and may need specific low-pressure components. For most balconies and gardens, a tap connection is simplest.
Will drip irrigation clog up?
Emitters can clog with grit or mineral deposits, which is why a filter is essential and lines should be flushed when first set up and occasionally after. Keeping the filter clean and using pressure-compensating, self-flushing emitters where possible keeps clogging to a minimum.
Want a watering system that just works — whether a simple kit or a full buried, zoned setup? Have a look at our irrigation services, or get in touch and we’ll design the right solution for your space.